

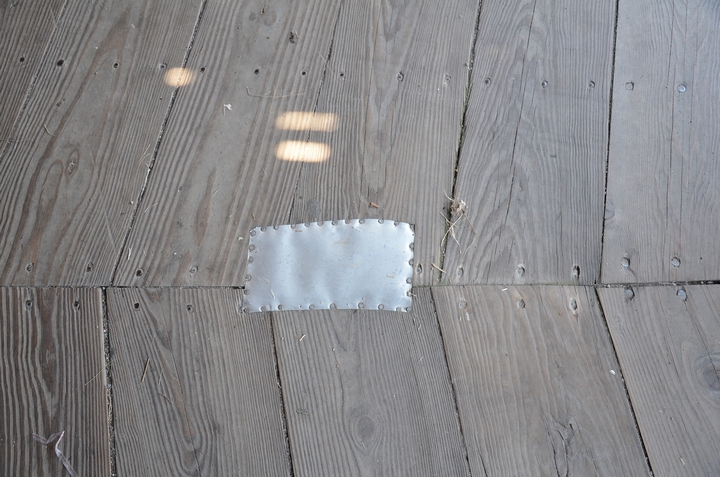
A hole in the floor is never good as it can lead to more damage or be unsafe. There will always be the occasional scratch, holes and dings in your floor. The materials used to repair the hole will depend on how big the hole is.
Regardless, you want to ensure that when you patch the hole, it blends well with the rest of the flooring. Every floor wears and tears from foot traffic, pets and moving furniture. Over time, you might notice that hole in the floor that draws the eye and can cause you grief. You can call in a wood flooring professional or do the repair work yourself.
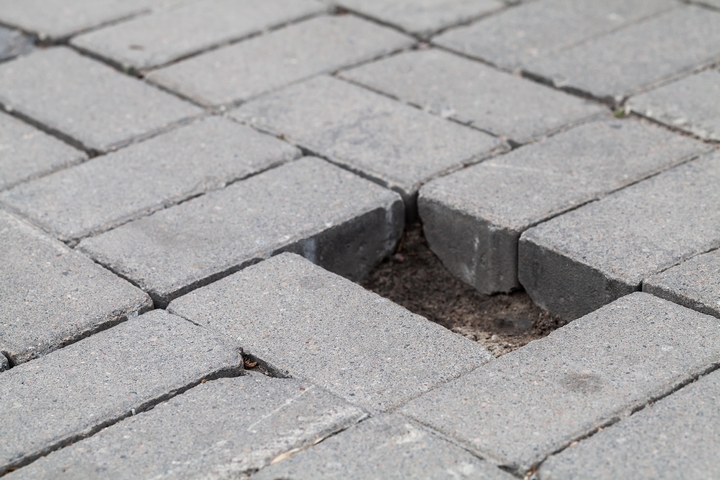
The long-term solution is to replace the pieces, whether tiles or wood panels, but only if you can get the exact match. Of course, tiles can be easy to repair as you just have to replace a unit, but fixing a hole in wood floors or concrete floors may require a little more work.
Here are seven steps on how to fix a hole in the floor successfully:
1. Investigate the hole size
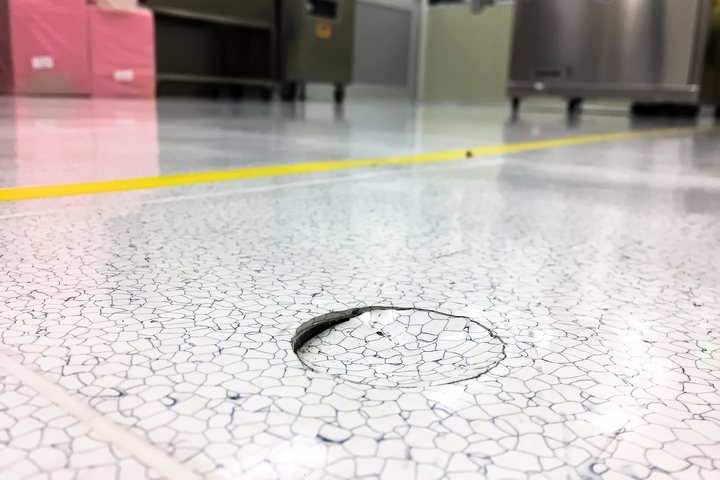
As you fix a hole in the floor, you should first take the time to examine the hole and the damage closely. This will help you determine whether you need to remove the entire flooring or just replace one section of the floor.
Even the size will matter as a larger hole will require more rigid materials, while a small hold might only require some fillers or patchwork. Furthermore, the type of hole will also determine whether you need a professional, or you can do it yourself.
2. Determine the floor materials
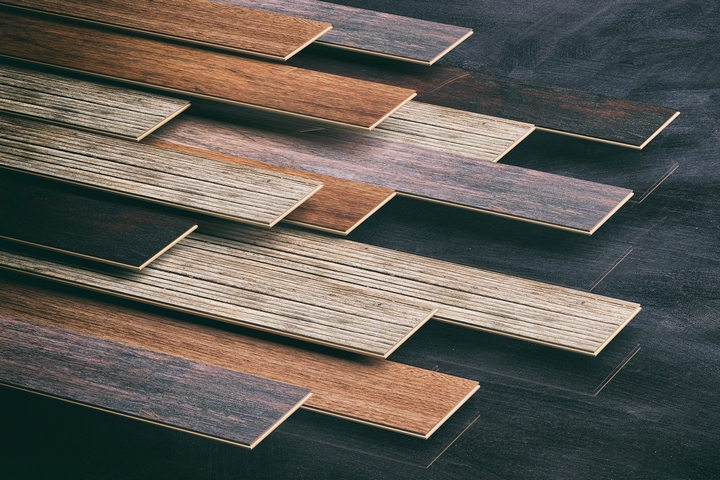
If it is a wood floor, you will need a cordless drill, a hole saw, spade bit and a wood filler. For concrete floors, you will require a hammer, chisel, concrete bonding liquid and a brush. For tiles, you will need a ceramic filler and siliconized caulk.
Fixing a hole in each type of floor will require a different set of materials and tools. Make sure to get the right ones to repair the hole. Usually, for wood or tile floors, you should have extra pieces as part of your initial order that can be used to replace the hole.
Always ensure you have all the materials you need before you start the work. The last thing you need is to start the repair and find that you are missing essential materials, fillers or bonding products.
3. Wear appropriate protection

When you fix a hole in the floor, it might be wise to get yourself some goggles, gloves and a mask to protect yourself. You should also consider using knee pads to prevent pain when you kneel on the floor as you patch the hole.
4. Clean around the hole
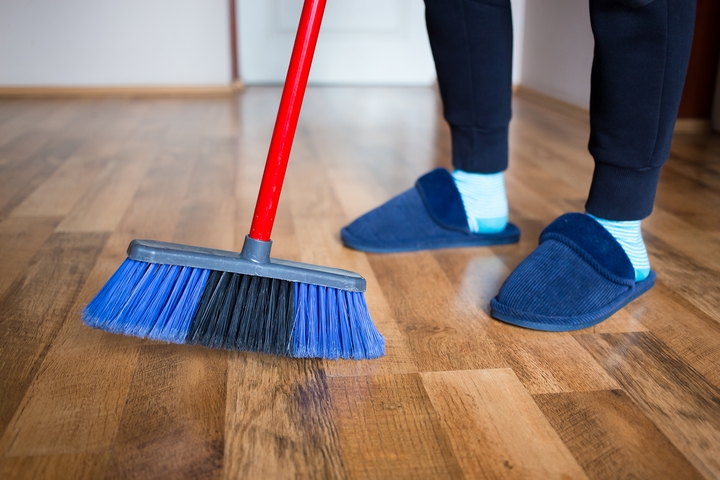
You should remove all the debris, chisel all the rough edges, even out the hole if needed and ensure the surface is clean for the patchwork application. You may also want to isolate the area so that other parts of the floor are not damaged while you repair the hole. You can use tape around the hole when applying the filler.
If you are replacing a tile or wood panel, you want to ensure the section is vacuumed and clean from debris before securing the new tile or wood panel. Remember that dust and debris can prevent the filling compound from setting properly and bonding the floor elements.
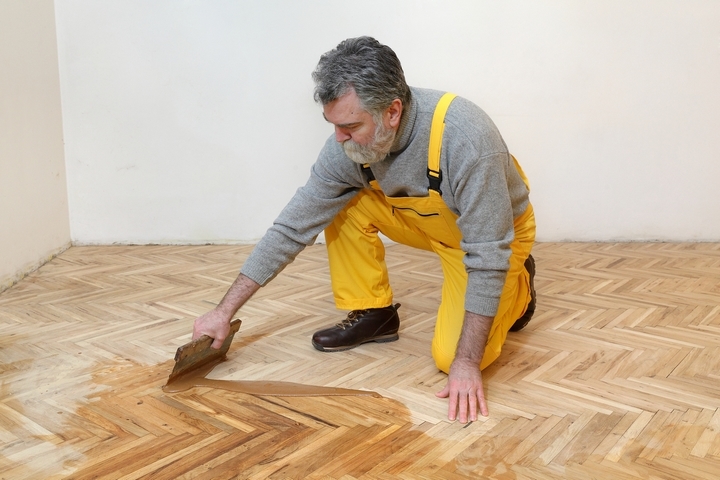
5. Prep the floor
At this point, you may have to mix products to in order to fix a hole in the floor. Make sure you know what products to mix and the quantity needed. For example, for wood floors, you can sand the floor, collect the wood dust and then mix this same dust with some wood glue to form a paste to fill any medium or small hole. This ensures the filler used for the hole matches the entire flooring.
Once you have all the applications you need, the next step is to ensure the edges are smooth and ready for the application. You may have to make the hole diameter even and tape the repair area, so you don’t accidentally apply the filler in areas where it doesn’t belong.
6. Fill the hole in the floor
Once you have all the prep work done, you are ready to fix the hole in the floor. Apply the application, filler, filler wood piece or mix to the hole and spread it neatly using tools like a putty knife for a clean, smooth finish.
Allow the product to dry before moving on to the next application. For example, if you have used a wood filler for your hardwood floors, you will have to wait for the wood filler to dry before applying the stain finish.
7. Ensure surface finish
When the filler application is dry, you can then apply the finishing touches. The end result is that you restore your floor to its original beauty, and no holes or even the restoration work is visible.


