Embarking on a plumbing project, especially as fundamental as installing a toilet, can be a rewarding and empowering experience. Whether you’re a homeowner looking to upgrade your bathroom or someone eager to delve into the world of DIY plumbing, this comprehensive guide will take you through the step-by-step process of plumbing a toilet.
Additionally, we’ll provide essential tips for those new to plumbing, ensuring a successful and leak-free installation.
Basics of Toilet Plumbing
Before diving into the installation process, it’s crucial to grasp a toilet’s basic components and functions.
Bowl
The bowl is the main part of the toilet where waste is collected and flushed.
Tank
The tank sits on top of the bowl and contains the necessary mechanisms for flushing.
Flush Valve
A valve that allows water to enter the bowl from the tank during the flushing process.
Fill Valve
A valve that controls the water level in the tank, refilling it after each flush.
Flapper
A rubber valve that seals the flush valve, preventing water from leaking into the bowl.
Handle
The lever on the outside of the tank that initiates the flushing process.
Tools and Materials
- Adjustable wrench
- Screwdriver
- Hacksaw
- Plunger
- Closet bolts
- Wax ring
- Toilet supply line
- Closet flange
Gather Your Tools and Materials
Before you start the installation process, ensure you have all the tools and materials listed above. Having everything on hand will streamline the process and prevent unnecessary delays. If you don’t have all the necessary equipment, hiring a plumbing service like Birnie Plumbing and Drains can be of great assistance.
Remove the Old Toilet
First, turn off the water supply to the toilet by shutting off the water valve located on the wall or floor. Flush the toilet to drain as much water as possible from the tank and bowl.
Disconnect the water supply line from the bottom of the tank using an adjustable wrench. Remove the nuts from the closet bolts securing the toilet to the floor. Lastly, lift the old toilet off the closet bolts and set it aside.
Inspect and Prepare the Flange
Inspect the closet flange (the circular piece on the floor) for any damage or corrosion. Replace if necessary. Clean the flange area thoroughly to ensure a proper seal with the wax ring.
Install the Closet Bolts
Place new closet bolts into the flange slots, ensuring they are evenly spaced and perpendicular to the wall. Secure the bolts using the accompanying nuts and washers.
Place the Wax Ring
Position the wax ring over the closet flange, ensuring the tapered side faces the toilet.
Set the Toilet
Carefully lower the toilet bowl onto the closet bolts and wax ring, ensuring a proper seal. Apply even pressure to the toilet bowl, allowing the wax ring to compress and form a watertight seal.
Secure the Toilet
Place a washer and nut onto each closet bolt and tighten them evenly to secure the toilet to the floor. Be cautious not to overtighten, as it may damage the toilet or the flange.
Connect the Water Supply
Attach the toilet supply line to the fill valve on the bottom of the toilet tank. Tighten the nut using an adjustable wrench.
Adjust the Water Level
Turn on the water supply and allow the tank to fill. Adjust the water level by turning the adjustment screw on the fill valve.
Test the Flush
Flush the toilet and observe the water flow. Ensure that the flapper forms a proper seal after each flush.
Tips for Plumbing Beginners
Now that you’ve successfully plumbed a toilet, here are some essential tips for those new to plumbing.
Tip 1: Safety First
Prioritize safety by wearing appropriate protective gear, including gloves and safety glasses. Additionally, familiarize yourself with the location of shut-off valves and emergency procedures.
Tip 2: Take Your Time with Measurements
Accurate measurements are crucial in plumbing projects. Double-check all measurements before cutting or attaching components to ensure a precise fit.
Tip 3: Learn the Basics of Pipe Materials
Understand the differences between various pipe materials, such as PVC, copper, and PEX. Each material has strengths and limitations, so choose the one that best suits your project.
Tip 4: Use Teflon Tape for Threaded Connections
When connecting threaded pipes and fittings, apply Teflon tape to ensure a tight and leak-free seal. Wrap the tape clockwise around the threads before assembling.
Tip 5: Keep a Plunger Handy
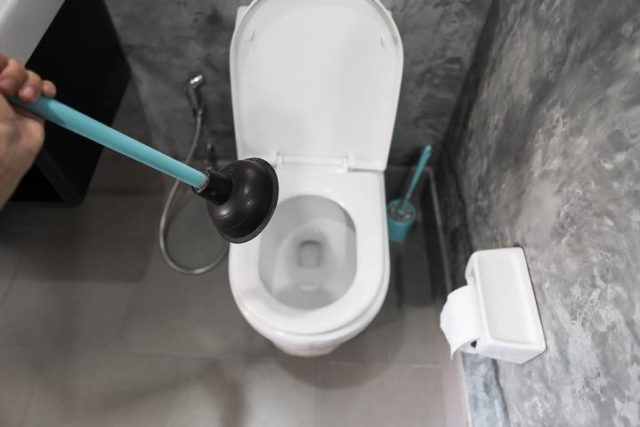
A plunger is a plumber’s best friend. Keep one nearby for quick response to clogs and minor blockages. Regular maintenance can help prevent major issues.
Tip 6: Know When to Call a Professional
While DIY plumbing projects are empowering, there are instances where professional help is necessary. If you encounter complex issues or feel unsure about a particular task, it’s wise to consult a licensed plumber.


